Creating a Workout Space at Home That You'll Actually Use
5 October 2026
Most home gyms fail for a boring reason. Not because the equipment was cheap or the room was too small. They fail because the space made exercise inconvenient, unpleasant, or easy to ignore. A treadmill buried under laundry, a yoga mat rolled behind a door, a set of dumbbells in a cold garage... these are not motivation problems. They are design problems.
This article is about designing a home workout space around one principle: the easier it is to start, the more likely you are to keep going. That principle sounds simple, but applying it well requires thinking about psychology, ergonomics, budgeting, and the realities of living in a shared home. Let's work through all of it.
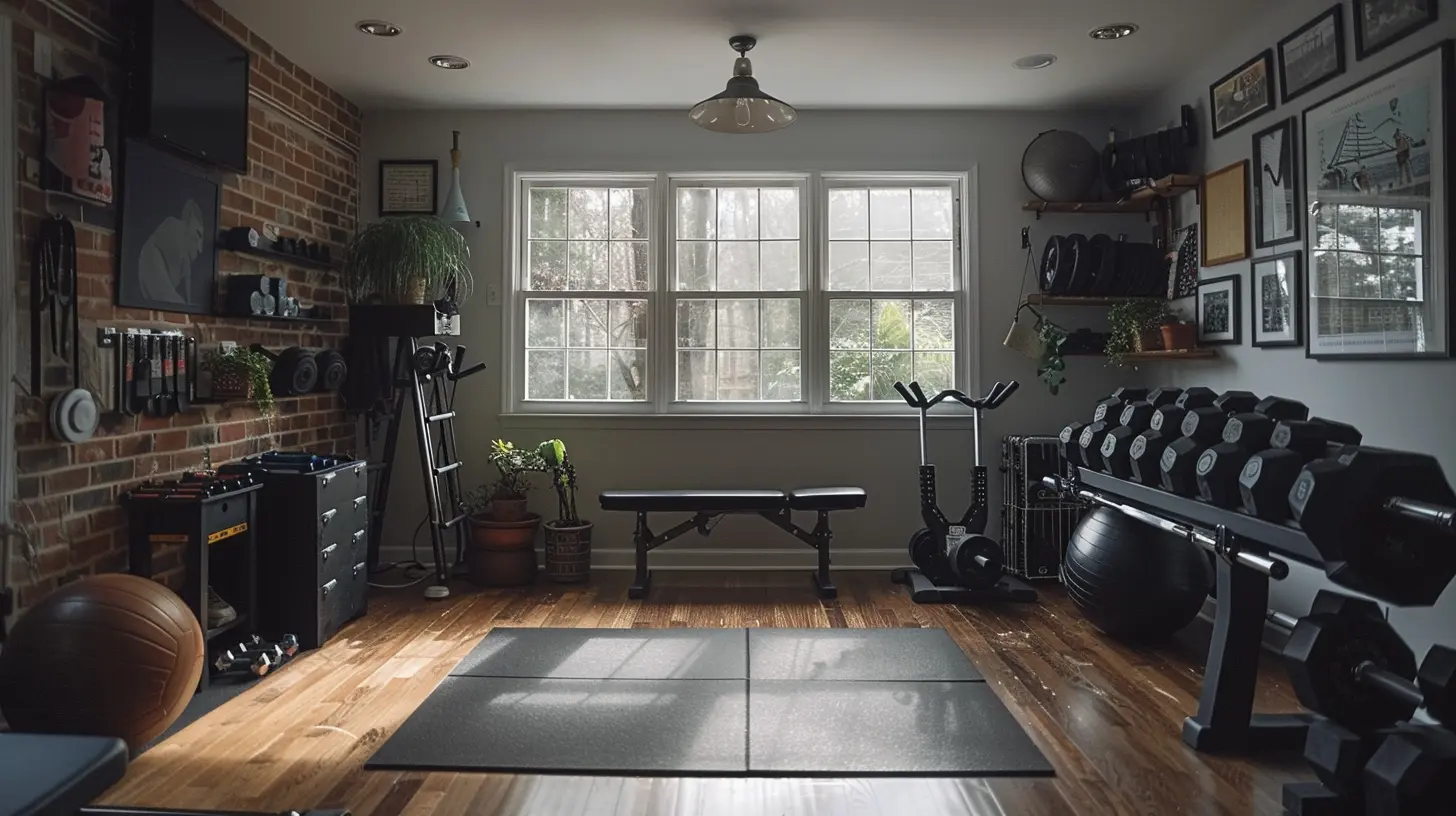
Start With Behavior, Not Equipment
Before you buy anything, answer one question honestly: what kind of movement do you actually do, or want to do, at home? The answer determines everything else, including how much space you need and where it should go.People tend to fall into a few broad categories:
- Strength-focused: free weights, resistance bands, a bench, possibly a rack or pull-up bar.
- Cardio-focused: a bike, rower, treadmill, or simply a jump rope and enough floor space.
- Mobility and bodyweight: a mat, open floor, maybe a mirror and a timer.
- Mixed: a bit of everything, which usually means prioritizing versatility over specialization.
The mistake almost everyone makes is buying for the person they imagine they'll become rather than the person they are right now. Someone who has never run more than a mile buys a treadmill and uses it as a coat rack within three months. Someone who genuinely loves cycling buys a cheap spin bike and rides it daily for years. The equipment did not create the habit. It supported one that already existed or was already forming.
A useful test: imagine your typical Tuesday. Not your ideal Tuesday. Your real one. When would you realistically use this space? For how long? What would you need to have ready in order to start within sixty seconds of deciding to train? If you cannot answer those questions, you are not ready to spend money yet.

Location: The Single Most Important Decision
Where you put your workout space matters more than what you put in it. Here is why.A workout area works best when it is visible, accessible, and separate from relaxation zones. Visibility creates a gentle cue. When you walk past a pull-up bar or a stationary bike several times a day, it stays present in your mind. When it is tucked in a basement behind a closed door, it disappears from your mental map of the house, and out of sight really does become out of mind.
At the same time, visibility has a cost. A rack of dumbbells in the middle of your living room can feel cluttered and stressful, especially if you share the space with others. The goal is not to turn your home into a gym. It is to find a spot that is easy to reach and hard to forget, without making daily life worse.
Some realistic options and their trade-offs:
A dedicated room. The ideal, if you have one. You can set up equipment permanently, control lighting and temperature, and leave things out between sessions. The risk is isolation. A spare bedroom on the far side of the house can feel like a chore to walk to. If you have this option, make the room pleasant, not just functional.
A corner of a living room or bedroom. Convenient and visible, which is a real advantage. The downside is that you cannot leave heavy or messy equipment out, and you may need to move furniture before each session. This friction adds up. If you go this route, choose equipment that stores vertically or under furniture, and keep a clear, permanent patch of floor for your mat.
A garage. Great for noise, heavy weights, and chalk. Bad for temperature extremes in many climates, and often used for storage. A garage gym works well if you can claim a defined zone, insulate or ventilate it, and keep the floor clean. If your garage is a dumping ground, fix that first or choose another location.
A basement. Cool in summer, quiet, and often spacious. Can be damp, low-ceilinged, and gloomy. If you train here, invest in lighting and a dehumidifier before you invest in a squat rack.
A balcony or patio. Fine for bodyweight work, bands, and yoga in good weather. Not reliable year-round in most places. Treat it as a bonus space, not your primary one.
If you have a choice, pick the location you will walk past most often and can reach in under a minute from where you spend your day.
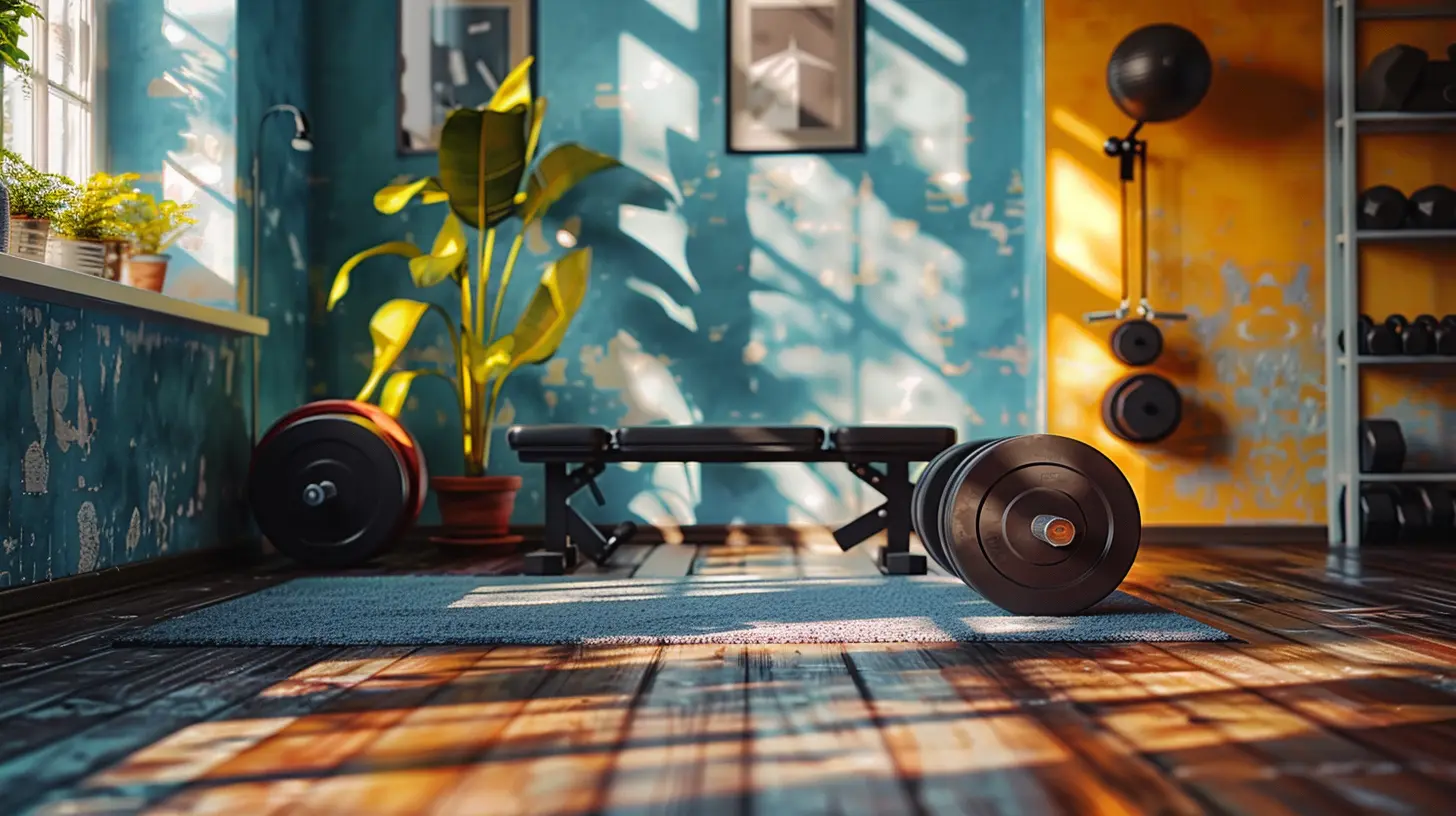
The Space Itself: Dimensions, Flooring, and Ceiling
You do not need much room, but you need the right kind of room.For a basic setup with a mat and some free weights, roughly two by two meters (about six and a half by six and a half feet) of clear floor is enough for most movements. If you want to do burpees, jump rope, or use a rower, plan for more length. For a power rack or a full barbell setup, you need enough depth to load plates and enough height to press overhead safely.
Two measurements people forget:
Ceiling height. If you plan to press a barbell overhead, jump, or use a pull-up bar, measure your ceiling first. A standard eight-foot ceiling is fine for most standing work but tight for overhead pressing with a full-size bar if you are tall. Pull-up bars mounted in doorways often force you to bend your knees, which changes the exercise.
Floor type and condition. Concrete is durable but unforgiving. Tile cracks under dropped weights. Carpet is comfortable but unstable for balance work and hard to clean. The best all-purpose surface is a rubber mat or interlocking rubber tiles over a hard floor. They absorb impact, protect the floor, reduce noise, and give you a stable base for lifting.
If you train with heavy weights, consider a plywood platform topped with rubber. It distributes load and protects both your floor and your equipment. For yoga or floor work, a denser mat on top of rubber is comfortable without being squishy.
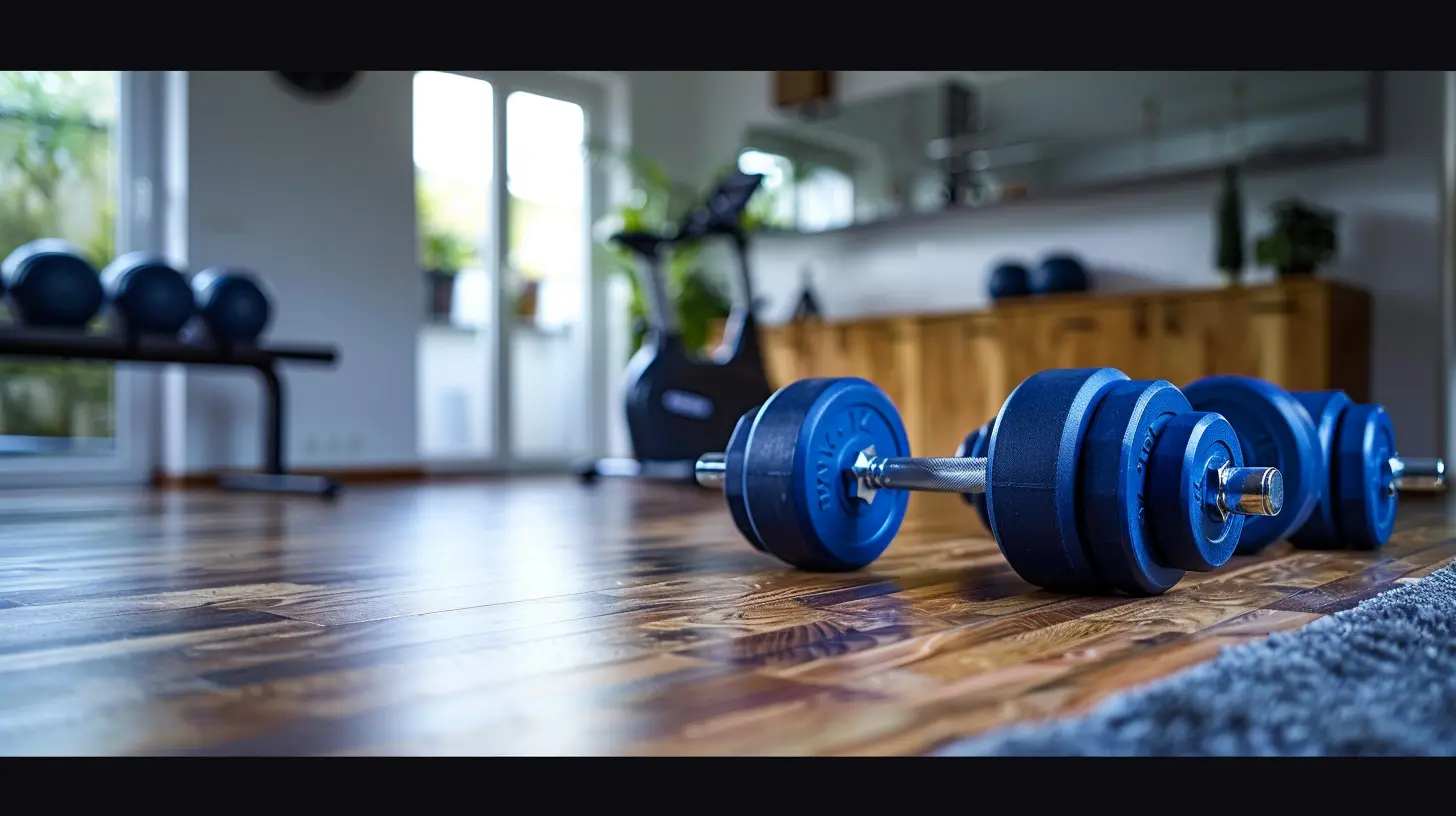
Lighting, Air, and Sound
These three factors are underestimated because they do not show up in equipment lists, but they shape how a space feels.Lighting. Bright, cool light tends to feel energizing, which suits hard training. Warm, dim light suits stretching and winding down. If you can, use adjustable lighting or a combination. Natural light is ideal when available. A single dim bulb in a basement is a genuine obstacle to showing up, even if you do not consciously notice it.
Air. Ventilation matters more than most people expect. A small fan can transform a stuffy room. If you train hard in a closed space, humidity and carbon dioxide build up, and you will feel sluggish without knowing why. In garages and basements, watch for damp and mold. A dehumidifier is often a better first purchase than another piece of equipment.
Sound. If you live with others, noise is a real constraint. Rubber flooring reduces impact noise. A rower is quieter than a treadmill. Bands and bodyweight work are nearly silent. If you like music or coaching audio, a small speaker keeps you from needing headphones, though headphones are better for shared spaces.
Equipment: Buy for Versatility First
The best home equipment does many things well and takes up little space. Here is a practical hierarchy, from highest to lowest value for most people.A good mat. Cheap mats slide, compress, and wear out. A slightly thicker, denser mat is worth the extra cost because it makes floor work comfortable, and comfort drives frequency.
Resistance bands. Inexpensive, portable, joint-friendly, and surprisingly versatile. They are excellent for warm-ups, accessory work, and rehab. They are not a substitute for heavy loading if strength is your goal, but they cover a lot of ground.
Adjustable dumbbells. These replace an entire rack in a fraction of the space. The trade-off is that some designs are slow to adjust, which adds friction between sets. If you can afford a set with a fast mechanism, that convenience directly affects how often you use them.
A bench. A flat bench opens up pressing, rows, step-ups, and split squats. An adjustable bench adds incline work but costs more and takes more space. For most home setups, a sturdy flat bench is the better first buy.
A pull-up bar. Cheap, small, and one of the most effective upper-body tools. Doorway models work if your frame allows it. Wall or ceiling mounts are more stable but permanent.
Cardio equipment. This is where people overspend. A treadmill or elliptical is large, heavy, and hard to resell. Buy cardio equipment only if you already do that activity regularly and enjoy it. Otherwise, a jump rope, a bike you already own on a trainer, or simply walking outside will serve you better.
A barbell and plates. Excellent for strength, but they demand space, a rack, and safe flooring. This is a serious commitment. Do not buy a barbell set until you have trained with one and know you will keep using it.
A note on buying used: home fitness equipment is one of the most commonly resold categories of consumer goods, which means good deals exist. Inspect carefully, test moving parts, and check for rust or cracked welds. Avoid anything with a damaged frame, no matter how cheap.
Storage and the Two-Minute Rule
Here is a rule that separates home gyms that get used from those that do not: you should be able to go from deciding to train to starting your first set in under two minutes.That means equipment should be within arm's reach, not behind three boxes. It means your mat should unroll without moving a coffee table. It means your weights should be at a height where you can grab them without bending awkwardly or digging through a bin.
Storage solutions that support this:
- Vertical storage for mats, bands, and foam rollers.
- Wall-mounted racks for dumbbells and bars, which keeps the floor clear.
- A dedicated bin or shelf for small items so they do not scatter.
- A place for your phone, water, and towel so you are not leaving the room mid-session.
If your setup requires five minutes of preparation, you will skip workouts on busy days. Those are exactly the days when a short session would have helped most.
Making It Pleasant Enough to Return To
Motivation is unreliable. Environment is not. A space that feels good to be in gets used more, even when motivation is low.Small things that make a difference:
- A mirror, if you use it for form checks rather than self-criticism.
- A clock or timer within view.
- Good ventilation and a fan.
- A place to sit between sets.
- Music or a screen, if you use them, set up and ready.
Be careful with screens. A TV or tablet can make cardio more tolerable, but it can also turn your workout into a passive activity. Use it deliberately, not as a default.
Common Mistakes and Misconceptions
"I need a lot of equipment to get fit." You do not. Consistency with a few tools beats occasional use of many. Most people could train effectively for years with a mat, bands, adjustable dumbbells, a bench, and a pull-up bar."I'll work out more if I spend more." Sunk cost does not create habit. In fact, expensive equipment can create pressure and guilt, which makes avoidance more likely. Buy modestly at first and upgrade once you have proven you will use the space.
"I need a dedicated room." Helpful, not required. Many people train consistently in a corner of a bedroom. What matters is that the space is reachable and ready.
"I'll figure out storage later." You will not. Clutter accumulates fast. Plan storage before the equipment arrives.
"Mirrors will make me self-conscious." For some people, yes. Mirrors help with form but can hurt body image. If they make you avoid the space, skip them. A phone camera can serve the same purpose when needed.
"I should copy a famous gym setup." Influencer gym tours are optimized for looks and filming, not for daily use in a normal home. Take inspiration, not instructions.
Safety Considerations
A home gym lacks the supervision and safety equipment of a commercial facility. A few precautions are worth the effort:- Check load capacity of floors, racks, and wall mounts. If you are unsure, consult a professional, especially for heavy racks in upper-floor rooms.
- Use safety arms or spotter arms if you lift alone with a barbell. This is not optional if you train heavy without a partner.
- Keep the floor clear of trip hazards, especially around cardio equipment.
- Secure tall or heavy items so they cannot tip.
- Watch temperature and hydration, particularly in garages and unheated spaces.
- Get medical clearance if you have a condition that exercise could affect, and consult a qualified professional about your specific situation.
A Realistic Example
Consider a person in a two-bedroom apartment who wants to strength train three times a week. They do not have a spare room. Their solution: a corner of the bedroom with a dense mat, a set of adjustable dumbbells on a small stand, a foldable bench, a doorway pull-up bar, and bands hanging on a hook. Total footprint: about two square meters. Setup time: under a minute. Everything is visible from the bed, which sounds odd but works, because the equipment is the first thing they see in the morning.Contrast that with a different person who buys a full rack, a barbell set, and a treadmill for a garage that is also used for storage. The equipment is high quality. The space is never cleared. Six months later, most of it is listed for sale.
The difference was not discipline. It was design.
Building the Habit Around the Space
Finally, remember that the space is a tool, not a solution. A well-designed home gym removes friction, but it does not create intention. Pair it with a simple plan: decide in advance which days you train, what you will do, and how long it will take. Keep sessions short enough that you rarely skip them. Track something, even just a checkmark on a calendar.Over time, the space becomes associated with the habit, and the habit becomes easier to start. That is the real goal. Not a perfect gym. A room, corner, or patch of floor that quietly makes the next workout the obvious choice.
all images in this post were generated using AI tools
Category:
Physical FitnessAuthor:

Eileen Wood